Key takeaways
- Measure desk-chair space while working, standing up and leaving a shared passage, using one baseline and your actual chair outline.
Check desk-chair pullback space with the chair in three separate states: positioned for work, moved back for standing up, and parked while someone passes behind it. Measure from one consistent desk reference to the chair’s farthest projecting part in each state. A measurement taken only with the chair tucked away misses the space it uses during an ordinary workday.
Decide which movements the room must allow
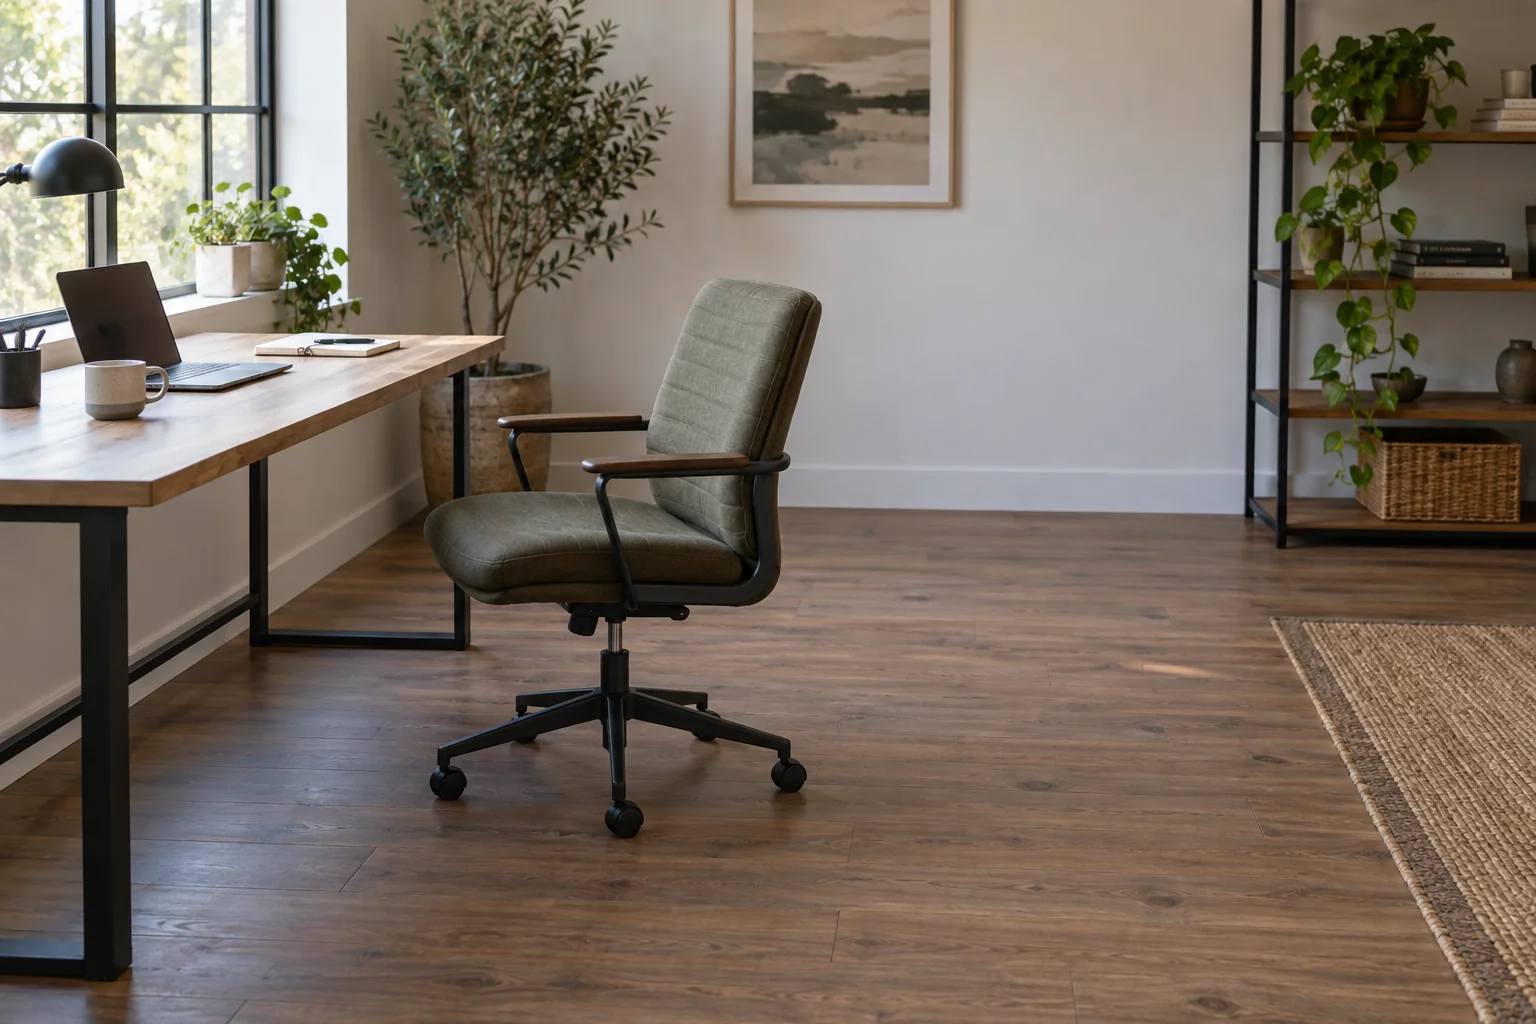
List what actually happens at the desk. You may sit and stand several times, swivel toward a printer or leave the chair parked while using a standing position. In a shared room, someone else may need to reach a wardrobe or doorway behind you. Those are separate space requirements.
The Canadian Centre for Occupational Health and Safety’s office-space guidance emphasizes that space requirements depend on people, their work and their ability to move through the workspace. Use that principle to evaluate your actual arrangement. This household measurement exercise does not establish compliance with a workplace or accessibility standard.
Identify the objects that form the rear boundary: a wall, a bed, a cabinet handle or a door in its normal open position. Record a changing boundary separately. Measuring to a closed wardrobe front will not describe the space when its doors are in use.
Set one reference and keep it throughout
Choose the user-facing front edge of the desk as your baseline. Draw it on a simple plan. Measure rearward from that line, perpendicular to the desk edge, to the nearest relevant boundary. Keep all chair-depth observations tied to the same line.
For a curved or angled desk, name the section of edge used and make a separate check at any turn. Do not mix one reading from the desktop’s rear edge with another from the front. The arithmetic may look reasonable while describing two different spaces.
Set the chair as normally used, following its instructions. Include the outer caster base, backrest and projecting arms rather than recording only the seat cushion. A swiveling chair can present a different outline as it turns, so one static width does not describe its full movement.
Record these three chair states
| State | What to observe | Measurement or note |
|---|---|---|
| Working | Normal seated position at the actual equipment | Farthest chair projection behind the desk-front baseline |
| Leaving the chair | Normal movement needed to stand and step away | Maximum observed rearward extent and side-exit space |
| Parked with passage | Chair in its intended resting location | Remaining route to the room’s actual destinations |
Make observations only where there is enough clear space to move normally. Do not ask someone to squeeze through a known obstruction or roll toward a stair edge to test a proposed fit. Use a scaled sketch to reject an unsuitable arrangement before trying it.
For a prospective chair, use the manufacturer’s complete dimensions to build an initial paper outline. Confirm what the dimensions include. A showroom trial can reveal your preferred exit movement, but it will not reproduce your room’s boundaries automatically.
Work through a fictional comparison
Suppose the desk-front baseline is 60 inches from the nearest fixed boundary behind it. In a particular observed setup, the chair extends 27 inches behind that baseline while working and reaches 39 inches when the user moves back to stand. The remaining straight-line gaps are therefore 33 inches and 21 inches.
Those figures describe geometry, not acceptable clearances. They do not show whether another person can pass, whether a mobility aid can turn or whether the user can leave comfortably to the side. They simply make the difference between the two states visible: the same room loses 12 inches of rear gap during that movement.
If a storage basket projects 6 inches from the rear boundary, the second gap becomes 15 inches. Removing that basket restores the lost space, but the complete route still needs assessment. Write down which constraint changed instead of declaring the whole workstation solved.
Check conflicts beyond the backrest
Observe whether the armrests meet the desk edge before the chair reaches the normal working position. Note caster interaction with mat edges and the location of cables. Use flooring-appropriate equipment and the chair’s adjustment instructions; do not remove required components simply to make the outline smaller.
Check the room door, cabinet doors and drawers through their intended movement with the chair in each relevant state. If the room cannot support two activities at once, record that limitation honestly. An arrangement that depends on repeatedly moving the chair may be unsuitable for a shared access route.
For a standing desk, identify a separate parking location for the chair without obstructing the surrounding route. This check concerns floor use; the desk’s vertical travel, cable movement and equipment clearances still require their own manufacturer-guided assessment.
Keep a usable result
Save a small plan with the three outlines and a short list of conflicts. Compare one change at a time, such as relocating a basket or changing the desk position. Keep the actual chair and working setup represented rather than shrinking them on paper to fit a preferred design. The useful outcome is a layout that accommodates your ordinary movements, with unresolved constraints clearly identified before buying furniture.