Key takeaways
- Compare monitor base footprints with usable shelf dimensions, load limits and cable space before ordering a desk shelf or riser.
What's inside
Compare a monitor’s base with the shelf’s usable top surface, not its screen diagonal or the shelf’s overall width. Measure every point that must rest on the shelf, check the permitted load and support arrangement, and leave room for the actual cable connections. A full-size paper layout can eliminate an unsuitable shelf before you order it.
Separate three dimensions that listings can blur
The shelf’s overall dimensions describe the entire object. Its usable top describes where the monitor base can sit. Its lower opening describes what can fit underneath. These are different measurements, especially on a stand with curved sides or legs extending beyond the top.
For example, Grovemade lists both overall dimensions and a separate 14-by-9.2-inch stand surface for its Wood Monitor Stand. Use the manufacturer’s relevant surface drawing and instructions for a fit check rather than assuming that the longest published dimension is usable support width. Specifications for another size or revision may differ.
Also distinguish the monitor’s weight with its base attached from a panel-only weight intended for mounting-arm calculations. Record the form you actually plan to place on the shelf. If that figure or the shelf’s permitted loading arrangement is missing, ask the relevant manufacturer.
Map the footprint without lifting a screen alone
Use the monitor’s dimension drawing when available. Otherwise, with the equipment stationary and safely accessible, measure the base’s widest and deepest extents from the desk surface. Do not tip or lift a heavy monitor just to trace underneath it; get appropriate help and follow its handling instructions if repositioning is necessary.
Transfer those measurements to paper laid on an empty work surface. Mark the front direction, the support feet or contact area where known, and any separate power brick you intend to place nearby. For a V-shaped base, show the tips and the rearward extent rather than replacing the shape with a small rectangle between its legs.
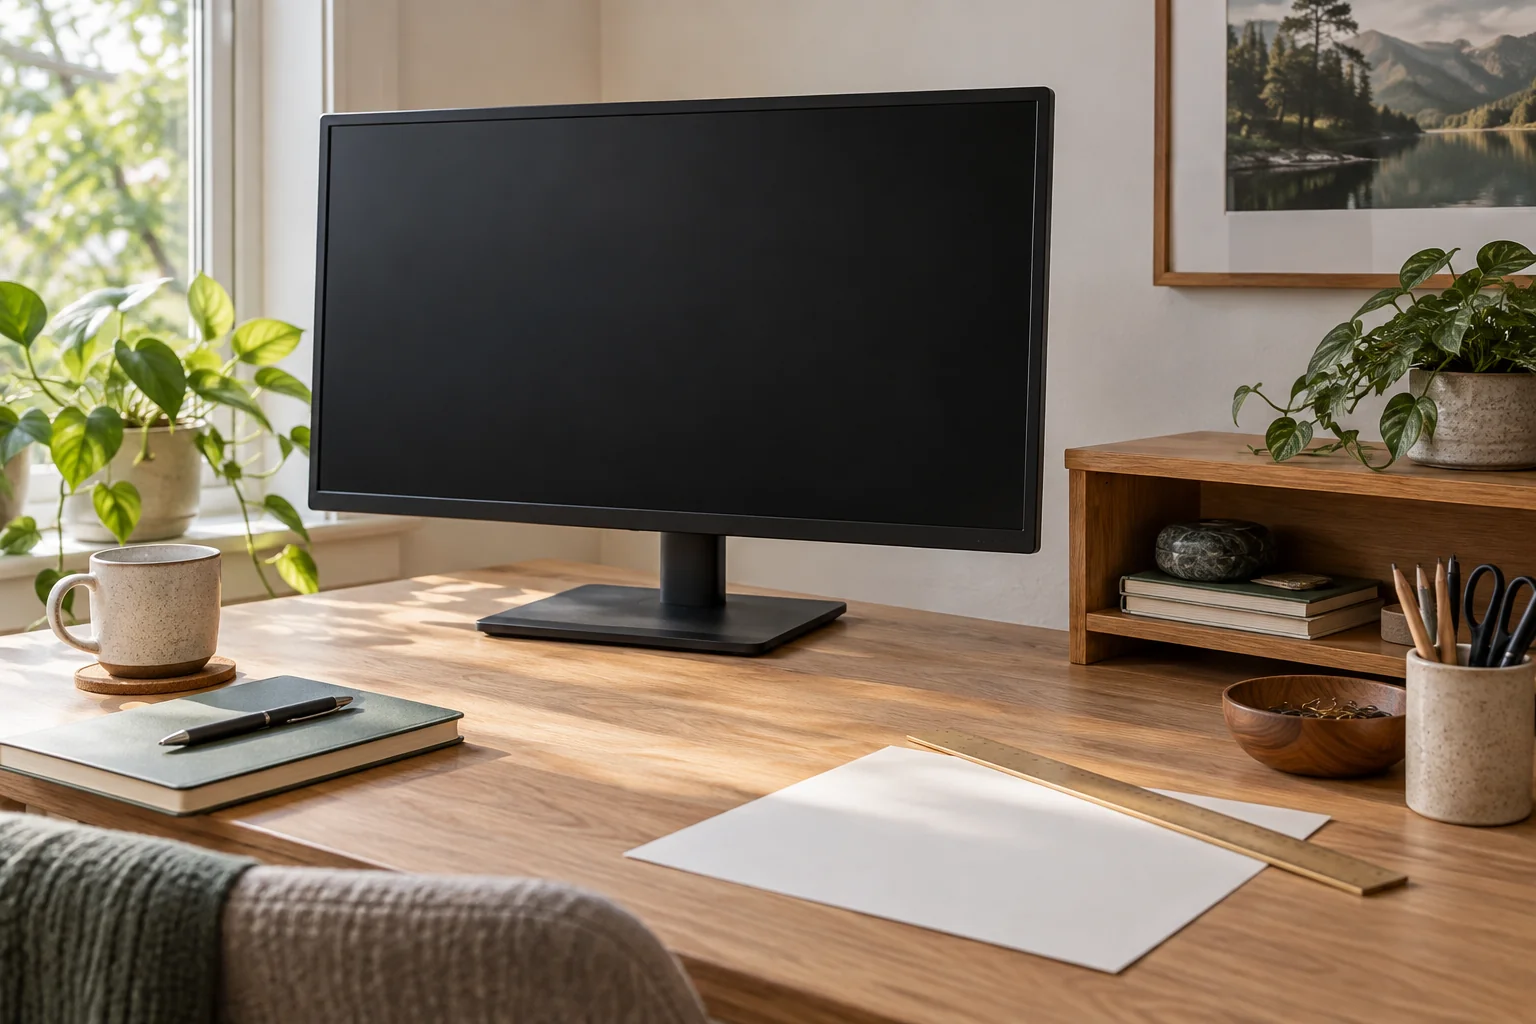
Draw the proposed shelf surface on another sheet. Place the base outline within it in the orientation you would actually use. The paper does not test strength or stability; it only exposes a geometric mismatch. Do not accept unsupported feet because the monitor seems to balance in a product photograph.
Fill out this comparison before shopping
| Detail | Monitor setup | Shelf candidate |
|---|---|---|
| Identity | Monitor model and original or replacement base | Exact shelf model and size |
| Support footprint | Maximum width, depth and foot locations | Usable top width and depth; excluded edges or openings |
| Load | Monitor with base plus anything else on the shelf | Permitted load and any distribution conditions |
| Connections | Plug position and cable route | Space to reach the ports without trapping cables |
| Screen position | Desired height and available monitor adjustment | Added shelf height |
| Desk contact | Available clear desktop | All shelf feet supported as instructed |
| Result | Fits on paper with specifications confirmed; needs clarification; or reject | |
Work through a fictional depth comparison
Imagine a base that extends 10 inches from front to back and a shelf with 9 inches of usable top depth. The mismatch is 1 inch. That is a failed paper fit, not a reason to let half an inch hang over each edge. Choose another shelf or another manufacturer-approved setup.
Now imagine a 12-inch-deep usable surface. It leaves 2 inches of total geometric room around that same base, but that number is not a prescribed safety margin. You still need to follow the manufacturer’s positioning requirements and check the real plugs and cable path. A rear-facing connector may need space that a top-view base outline does not show.
Check two monitors as one layout
Draw both bases and mark the desired screen angles. Adding two base widths can underestimate the space required when the monitors are angled, and can miss a collision between neighboring screen corners. Conversely, screen width alone does not describe the feet. Keep those two outlines separate on your plan.
Add the weights of everything intended for the shelf, then compare them with its documented load conditions. Do not infer that each half carries half the stated capacity, or that a monitor-arm clamp can attach to a shelf merely because a freestanding monitor could sit on it.
Finally, check the resulting screen height from your normal working position before ordering. A shelf can fit perfectly and still place the display higher than you want. Confirm the return terms, retain your measurements and save the exact specification page used for the decision. That gives you a practical basis for comparing a second candidate without starting over.