Key takeaways
- Measure desk-edge depth, apron drop and clamp installation space before ordering an accessory that fits the top but cannot attach.
What's inside
Check a desk apron by measuring the clear space behind the edge, below the top and around the clamp’s installation path. The desktop may fall within an accessory’s advertised thickness range while the apron still blocks its lower pad or tightening handle. Compare a side-view drawing of the desk with the exact clamp drawing before buying.
Identify the obstruction you are measuring
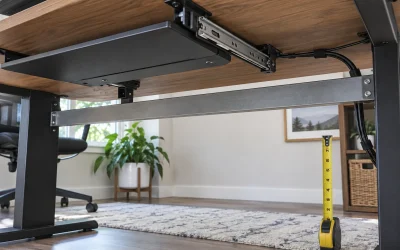
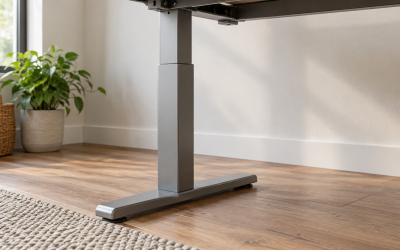
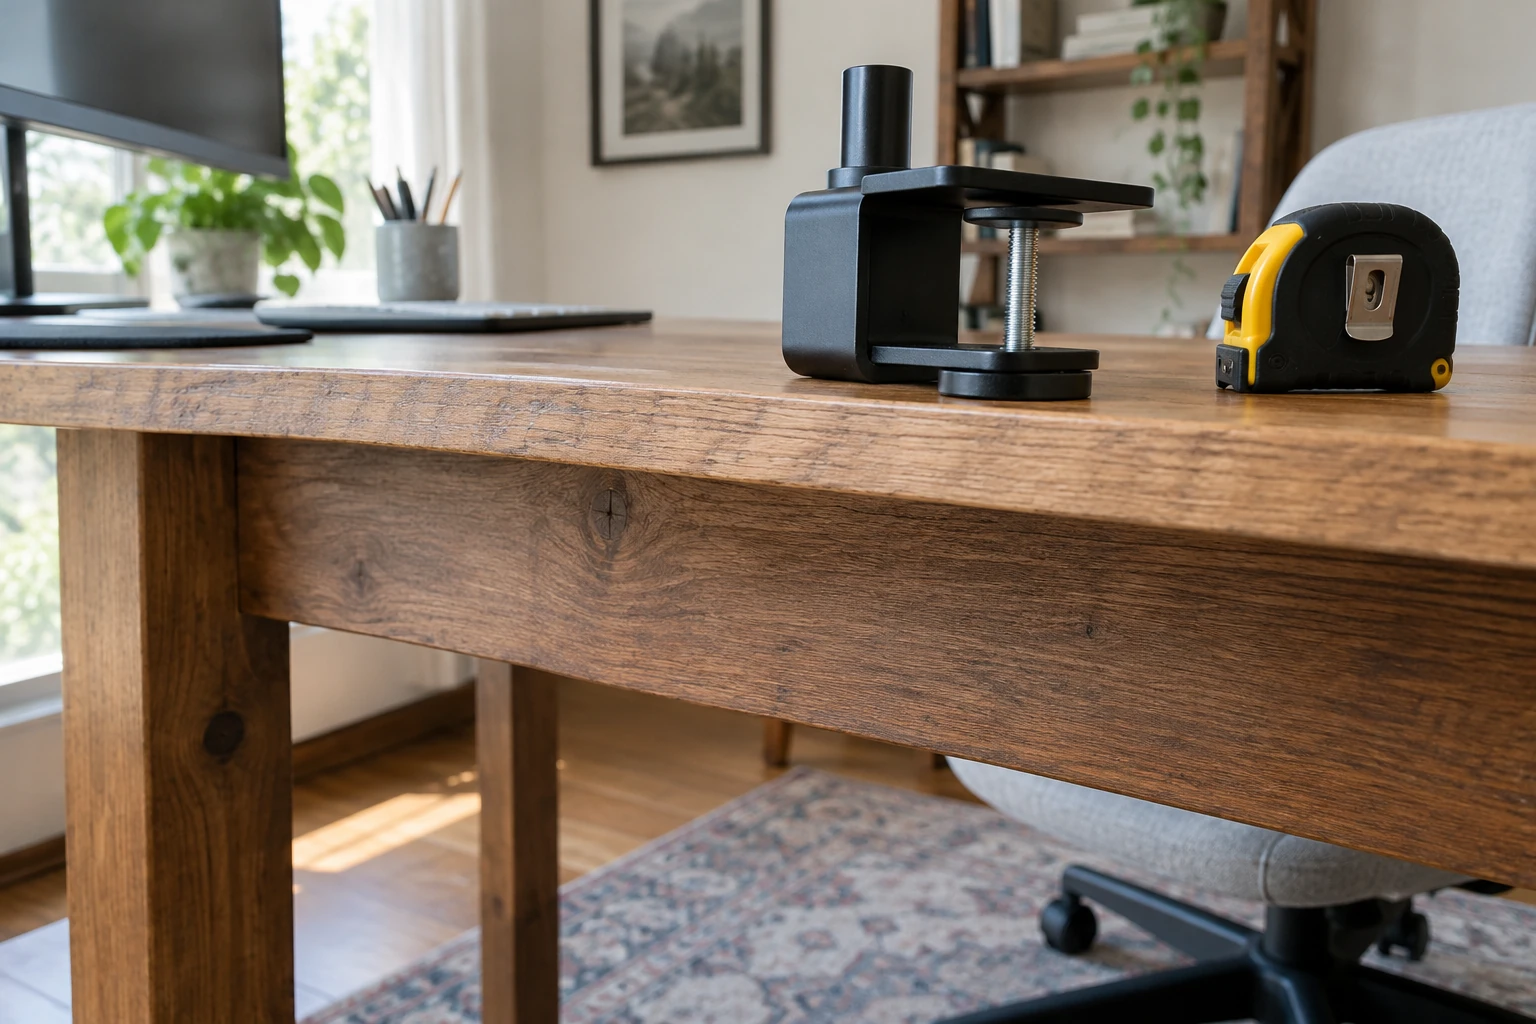
An apron is the vertical member beneath the desktop, often connecting the legs. A desk can also have metal frame rails, cable trays, drawer boxes and brackets near the edge. Photograph the proposed mounting location from the side and below so those different objects do not become one vague “clearance” number.
Identify the desk and accessory models, including the mounting kit. A monitor arm supplied with one clamp may accept a different manufacturer-approved mount, but that does not make every clamp interchangeable. Keep the accessory load and desktop material requirements beside the geometry check; fitting into the gap is only one part of compatibility.
Make a side-view measurement sketch
Choose a particular point along the edge and label it on the desk photo. Measure tabletop thickness at that point, the horizontal distance from the edge to the apron, and how far the apron projects below the top. Note any bevel or rounded underside that changes the flat contact area. Repeat at another candidate point if the construction varies.
| Desk measurement | Compare with accessory drawing | Record the outcome |
|---|---|---|
| Top thickness | Permitted clamping range | Within range / outside / unresolved |
| Clear inward depth | Lower pad and clamp body position | Full footprint fits or conflicts |
| Clear vertical space | Body, screw and handle envelope | Check installed and adjustment positions |
| Edge profile | Required upper/lower contact surfaces | Flat support or unsuitable shape |
| Approach path | Slide-on or assembly route | Can the clamp reach its final position? |
| Nearby hardware | Mount, cables and accessory movement | List each interference separately |
Use the underside of the top as a consistent vertical reference. If you measure one object from the floor and another from the desktop surface, translate them to that shared reference before comparing. Include dimensions on the photo rather than relying on a ruler held at an unclear angle.
Read the drawing for the exact attachment type
Ergotron’s desk-attachment guide distinguishes standard two-piece clamps, under-mount and top-mount C-clamps, and grommet mounts. Its drawings show that the space needed beneath and behind the desk differs by attachment and arm family. For the illustrated HX under-mount C-clamp, the guide notes a 1.2-inch back slide-on requirement, with side access as another possible approach.
That named example is not a universal allowance for your accessory. Find the correct page and mount configuration, then read the arrows and footnotes together. If a product listing gives only a maximum desktop thickness, ask for its dimensioned clamp drawing. A thickness range cannot tell you where the lower pad lands.
Worked example: thickness passes, apron clearance fails
Imagine a desk with a measured 25 mm top and a 35 mm clear strip between the edge and the apron. The candidate accessory’s drawing, in this illustrative example, calls for a lower contact footprint occupying 45 mm inward from the edge. Even if its opening accepts a 25 mm top, the footprint overlaps the apron zone by 10 mm.
The result is “does not fit at this location,” not “tighten it harder.” Moving the clamp slightly along the same continuous apron will not change that geometry. A different location where the frame is genuinely different, or a compatible alternative mounting system, needs a fresh check.
Now suppose another clamp’s final body clears the apron but its installation handle needs to swing through that space. That second candidate also remains unresolved. Your worksheet must cover assembly and adjustment as well as the static installed outline.
Separate a geometry problem from a material problem
Do not infer that a glass, hollow-core, thin composite or damaged top is suitable because the jaws open far enough. Obtain the desk and accessory manufacturers’ requirements for the exact application. Likewise, do not assume that a board, metal plate or improvised spacer makes an unapproved surface acceptable.
An apron may be part of the desk structure. Cutting or removing it to make a clamp fit changes the furniture and is outside this measuring exercise. A grommet mount is another configuration to assess, not permission to drill a hole wherever the clamp was blocked.
Send a complete fit question before ordering
Give the supplier the desk model, top material, measured thickness, annotated underside photos and exact accessory/mount model. Ask specifically whether the proposed position accommodates the pad footprint, body and installation path. Save the response and drawing version with your measurements.
Approve the purchase only after both geometric fit and the applicable material/load requirements are resolved. This small drawing exercise is valuable because it identifies the actual conflict before you own an accessory that can grip the top but cannot be installed as intended.
For a sliding accessory beneath the desk, the keyboard-tray crossbar worksheet checks the additional moving space.