Key takeaways
- Map a microphone arm in working and parked positions, including its joint path, complete accessories and cable route around a desk shelf.
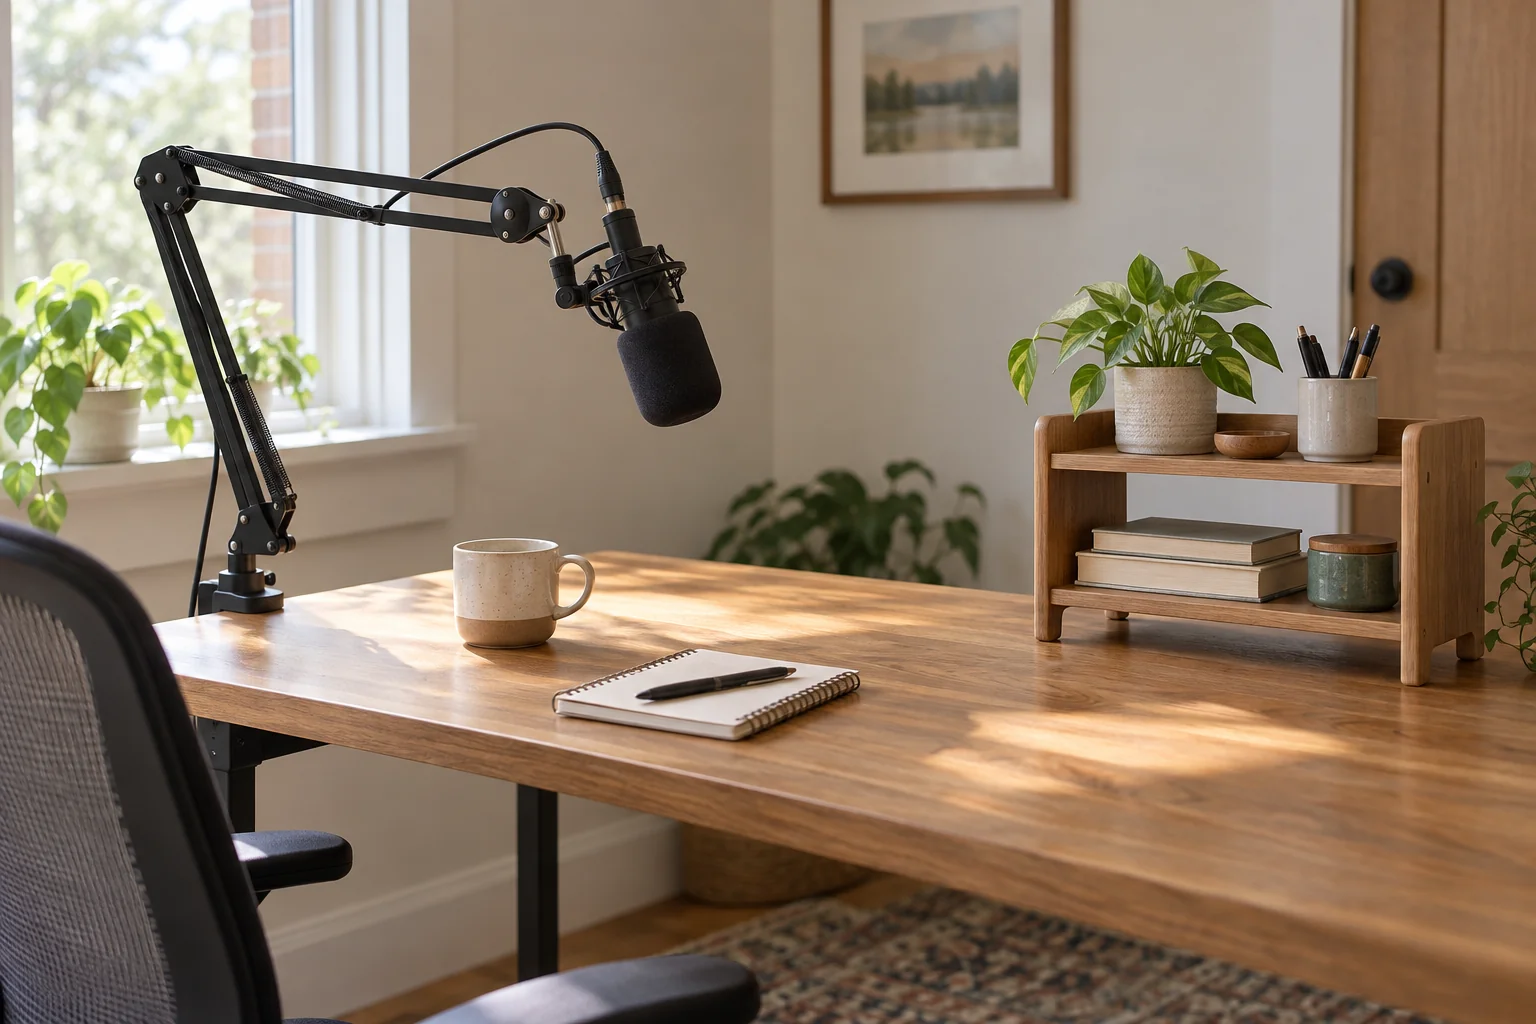
Plan a microphone arm around a desk shelf by mapping its working position, parked position and the movement between them. Check the whole assembly, including the microphone, mount and cable, rather than only the arm’s published reach. A microphone that reaches your seat may still strike a shelf when moved aside or occupy the space you need for a screen.
List the parts that will move
Record the arm model and the microphone with its intended accessories. Include the shockmount or clip, an attached filter and any other item carried by the arm. Check the manufacturer’s supported assembly and loading instructions; the weight of the microphone alone may not describe your final setup.
Keep thread compatibility, supported weight and physical clearance as separate questions. An adapter that joins two threads does not settle whether the arm supports the assembly or whether the result can rotate past the shelf. Avoid treating “fits most microphones” as a completed compatibility check.
Start with the approved mounting options
The RØDE PSA1+ product page describes a rotating arm supplied with a desk clamp and a threaded desk mount. That example shows why mounting method and movement need separate consideration. The stated rotation is a capability of that product, not a promise that an installed arm has an unobstructed circle around your furniture.
Follow the instructions for the chosen arm and desk. Do not assume a decorative shelf, hollow desktop or narrow trim edge can accept a clamp because the jaw opens far enough. Ask the relevant manufacturer when the desk material or mounting surface is not covered by its instructions.
Draw the shelf in three dimensions
Record the shelf’s footprint, underside height and any supports that project into the workspace. Include the objects that normally remain on it. A notebook temporarily removed for the planning photograph can become an obstruction again during everyday use.
Mark the monitor position and its adjustment range separately. A clear route beside a low monitor may disappear when the display is raised or turned. Keep the planned microphone position tied to the actual seated setup instead of moving the screen into an uncomfortable location merely to make the arm fit.
| State or feature | Record on the plan | Check before choosing |
|---|---|---|
| Mount | Permitted attachment location | Desk material and access for hardware |
| Working position | Microphone and complete mount outline | Recording position without shelf contact |
| Arm movement | Route between intended positions | Elbows, joints and accessory sweep |
| Parked position | Where the assembly rests when unused | Screen, drawer and writing-space access |
| Cable | Route to fixed equipment | Instructions for slack and attachment |
| Future adjustment | Monitor or shelf changes | Which changes require a new check? |
Separate reach from a clear route
A specification may state horizontal reach, vertical reach or an overall dimension. Read the definition and drawing before comparing it with a straight-line measurement across the desk. The end of an articulated arm does not necessarily follow the shortest line between two points.
Use a paper plan or a lightweight outline to explore candidate positions before buying. Keep the mockup clearly separate from a structural or load test. It can reveal a conflict with a shelf edge, but it cannot approve a clamp attachment or reproduce the behavior of a loaded arm.
A parked-position example
Imagine a fictional setup has a microphone working in front of the user with clear space around it. To open a notebook, the user wants to move it toward the rear corner. The arm drawing shows that one joint would travel through the space occupied by the desk shelf on the way to that corner.
The two endpoints appear clear, but the route is not. The planner marks that option unsuitable and considers a different approved mounting location or a different parked position. Simply choosing an arm with greater reach would not necessarily solve the joint’s path.
In a second layout, the arm clears the shelf but the attached filter would meet a stored book. The planner includes the entire accessory outline in the next sketch. These are geometric examples, not tested performance claims or instructions to force an arm beyond its intended motion.
Give the cable its own check
Record where the cable connects to the microphone and where it reaches a fixed device. Follow the arm manufacturer’s cable-management instructions and the cable’s handling requirements. Allow the intended movement without using cable tension to hold an arm in place.
If the desk changes height, distinguish cables that move with it from those connected elsewhere. Keep cable planning within the complete desk setup. Do not pull a connection tight, pinch it behind the shelf or modify a connector to gain clearance.
Verify the final arrangement through normal use
After approved installation, check the intended working and parked positions using the manufacturer’s adjustment procedure. Stop if there is unexpected contact or resistance; do not treat a collision as a way to find the limit. Adjust only the controls the owner instructions permit.
Save the plan with the arm and desk documents. Recheck it when changing the microphone, mount, shelf or monitor arrangement. The successful layout provides a useful recording position and a practical place to park the complete assembly, with an unobstructed permitted route between them.